How to Use IMAGE Function in Google Sheets?

When working with Google Sheets, we can easily add images to our sheet. We can fit it inside the cell or add it on the page. The syntax is pretty simple. Let's explain the syntax and how the function works through the example below.
What is the syntax of the image function?

Let's look at how the function works in the order of the screenshots above.
=IMAGE(“URL”)
=IMAGE("https://upload.wikimedia.org/wikipedia/commons/a/ae/Google_Sheets_2020_Logo.svg")
When we write the function like this, it will fit the picture into the cell. There is no deterioration in its appearance. After typing the URL in the function, it is assumed that '1' is written.
=IMAGE(“URL”,2)
=IMAGE("https://upload.wikimedia.org/wikipedia/commons/a/ae/Google_Sheets_2020_Logo.svg",2)
Typing (,2) after the URL means: Fit the image perfectly into the cell. Therefore, it stretches it and distorts its appearance. The picture we put into the cell with the function behaves like a cell. If we enlarge or shrink the size of the cell, the image inside it grows or shrinks in the same way.
The image in the 2nd cell is distorted because the picture is getting longer. If we move the cell to the left and shrink it, we can return the image to its original state.
I made column A smaller and the image distortion disappeared. Column B is the initial state of the cell.
=IMAGE(“URL”,3)
=IMAGE("https://upload.wikimedia.org/wikipedia/commons/a/ae/Google_Sheets_2020_Logo.svg",3)
In 3rd mode, the picture retains its own size. If we want a clear image here, we should not adjust the cell sizes according to the image.
=IMAGE(“URL”,4)
=IMAGE("https://upload.wikimedia.org/wikipedia/commons/a/ae/Google_Sheets_2020_Logo.svg",4,50,50)
This option is different from the others. Here we can specify custom dimensions for the picture. We give height and width in pixels. We gave 50 pixels wide, 50 pixels height. To enter these values, we must make sure that we write 4 after the URL.
As we can add a picture from the function, we can also do it using the menu.
How to add the image using the menu?
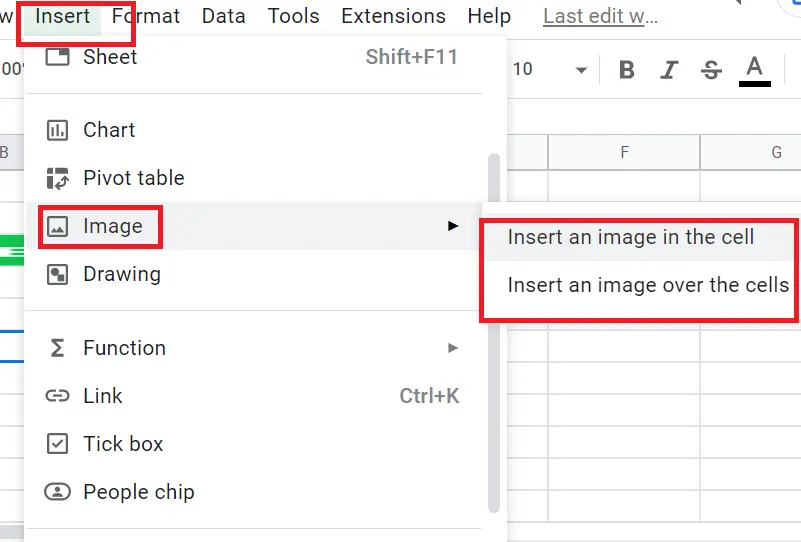
- Menu->Insert->Image->Insert an image in the cell or insert an image over the cells
- Insert an image in the cell-> And the picture behaves like a cell.
- Insert an image over the cells->You can insert the image on the page and position the image wherever you want on the page.
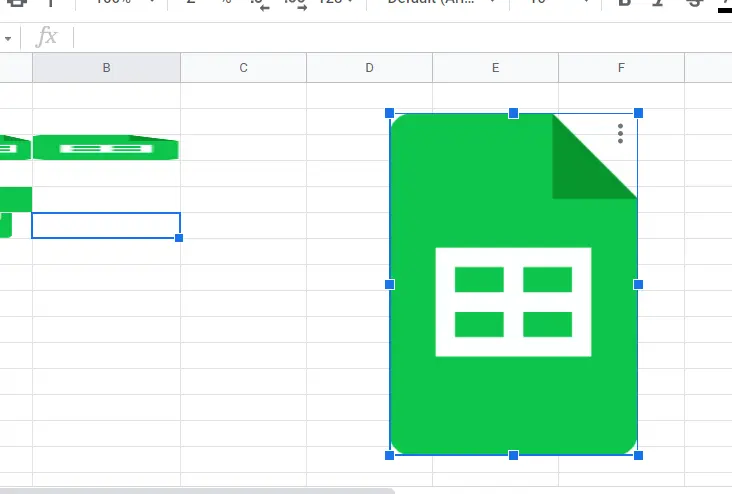
When we use the menu, we see such a screen.
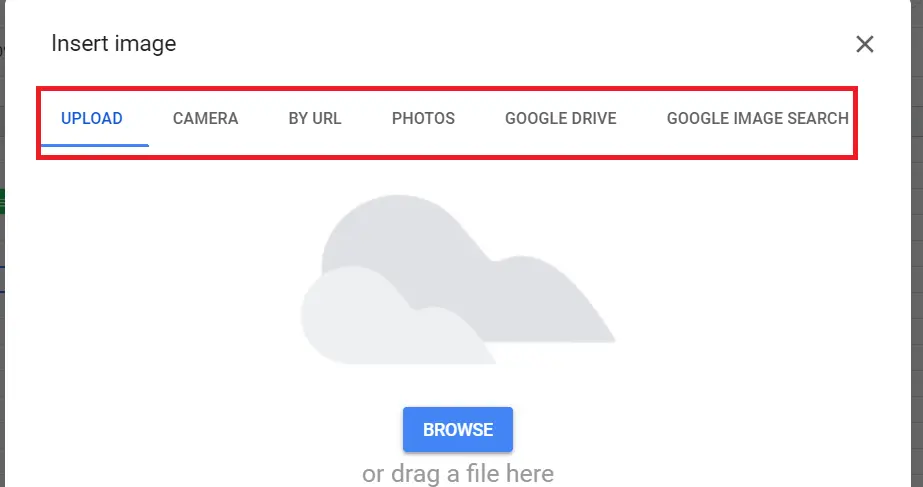
We can upload pictures from your computer, pictures from Drive. We can use the URL we use in the image function by entering it here as well. We can take snapshots with a camera and upload them. Here we have to let go.
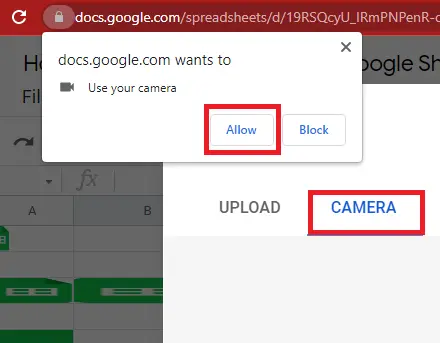
After we allow the camera to open, we can take a photo and put it in. Also, we can also make an instant search with Google and upload the pictures we get from there.


